Thank you for buying/your interest in this low prim Beach House. You will find it a great looking, sensuous and romantic addition to your ocean, beach, river or waterfall setting. Perfect as an addition to your main house or a vacation hideaway.
This house includes locking doors, open/close blinds and an access controlled texture change panel.
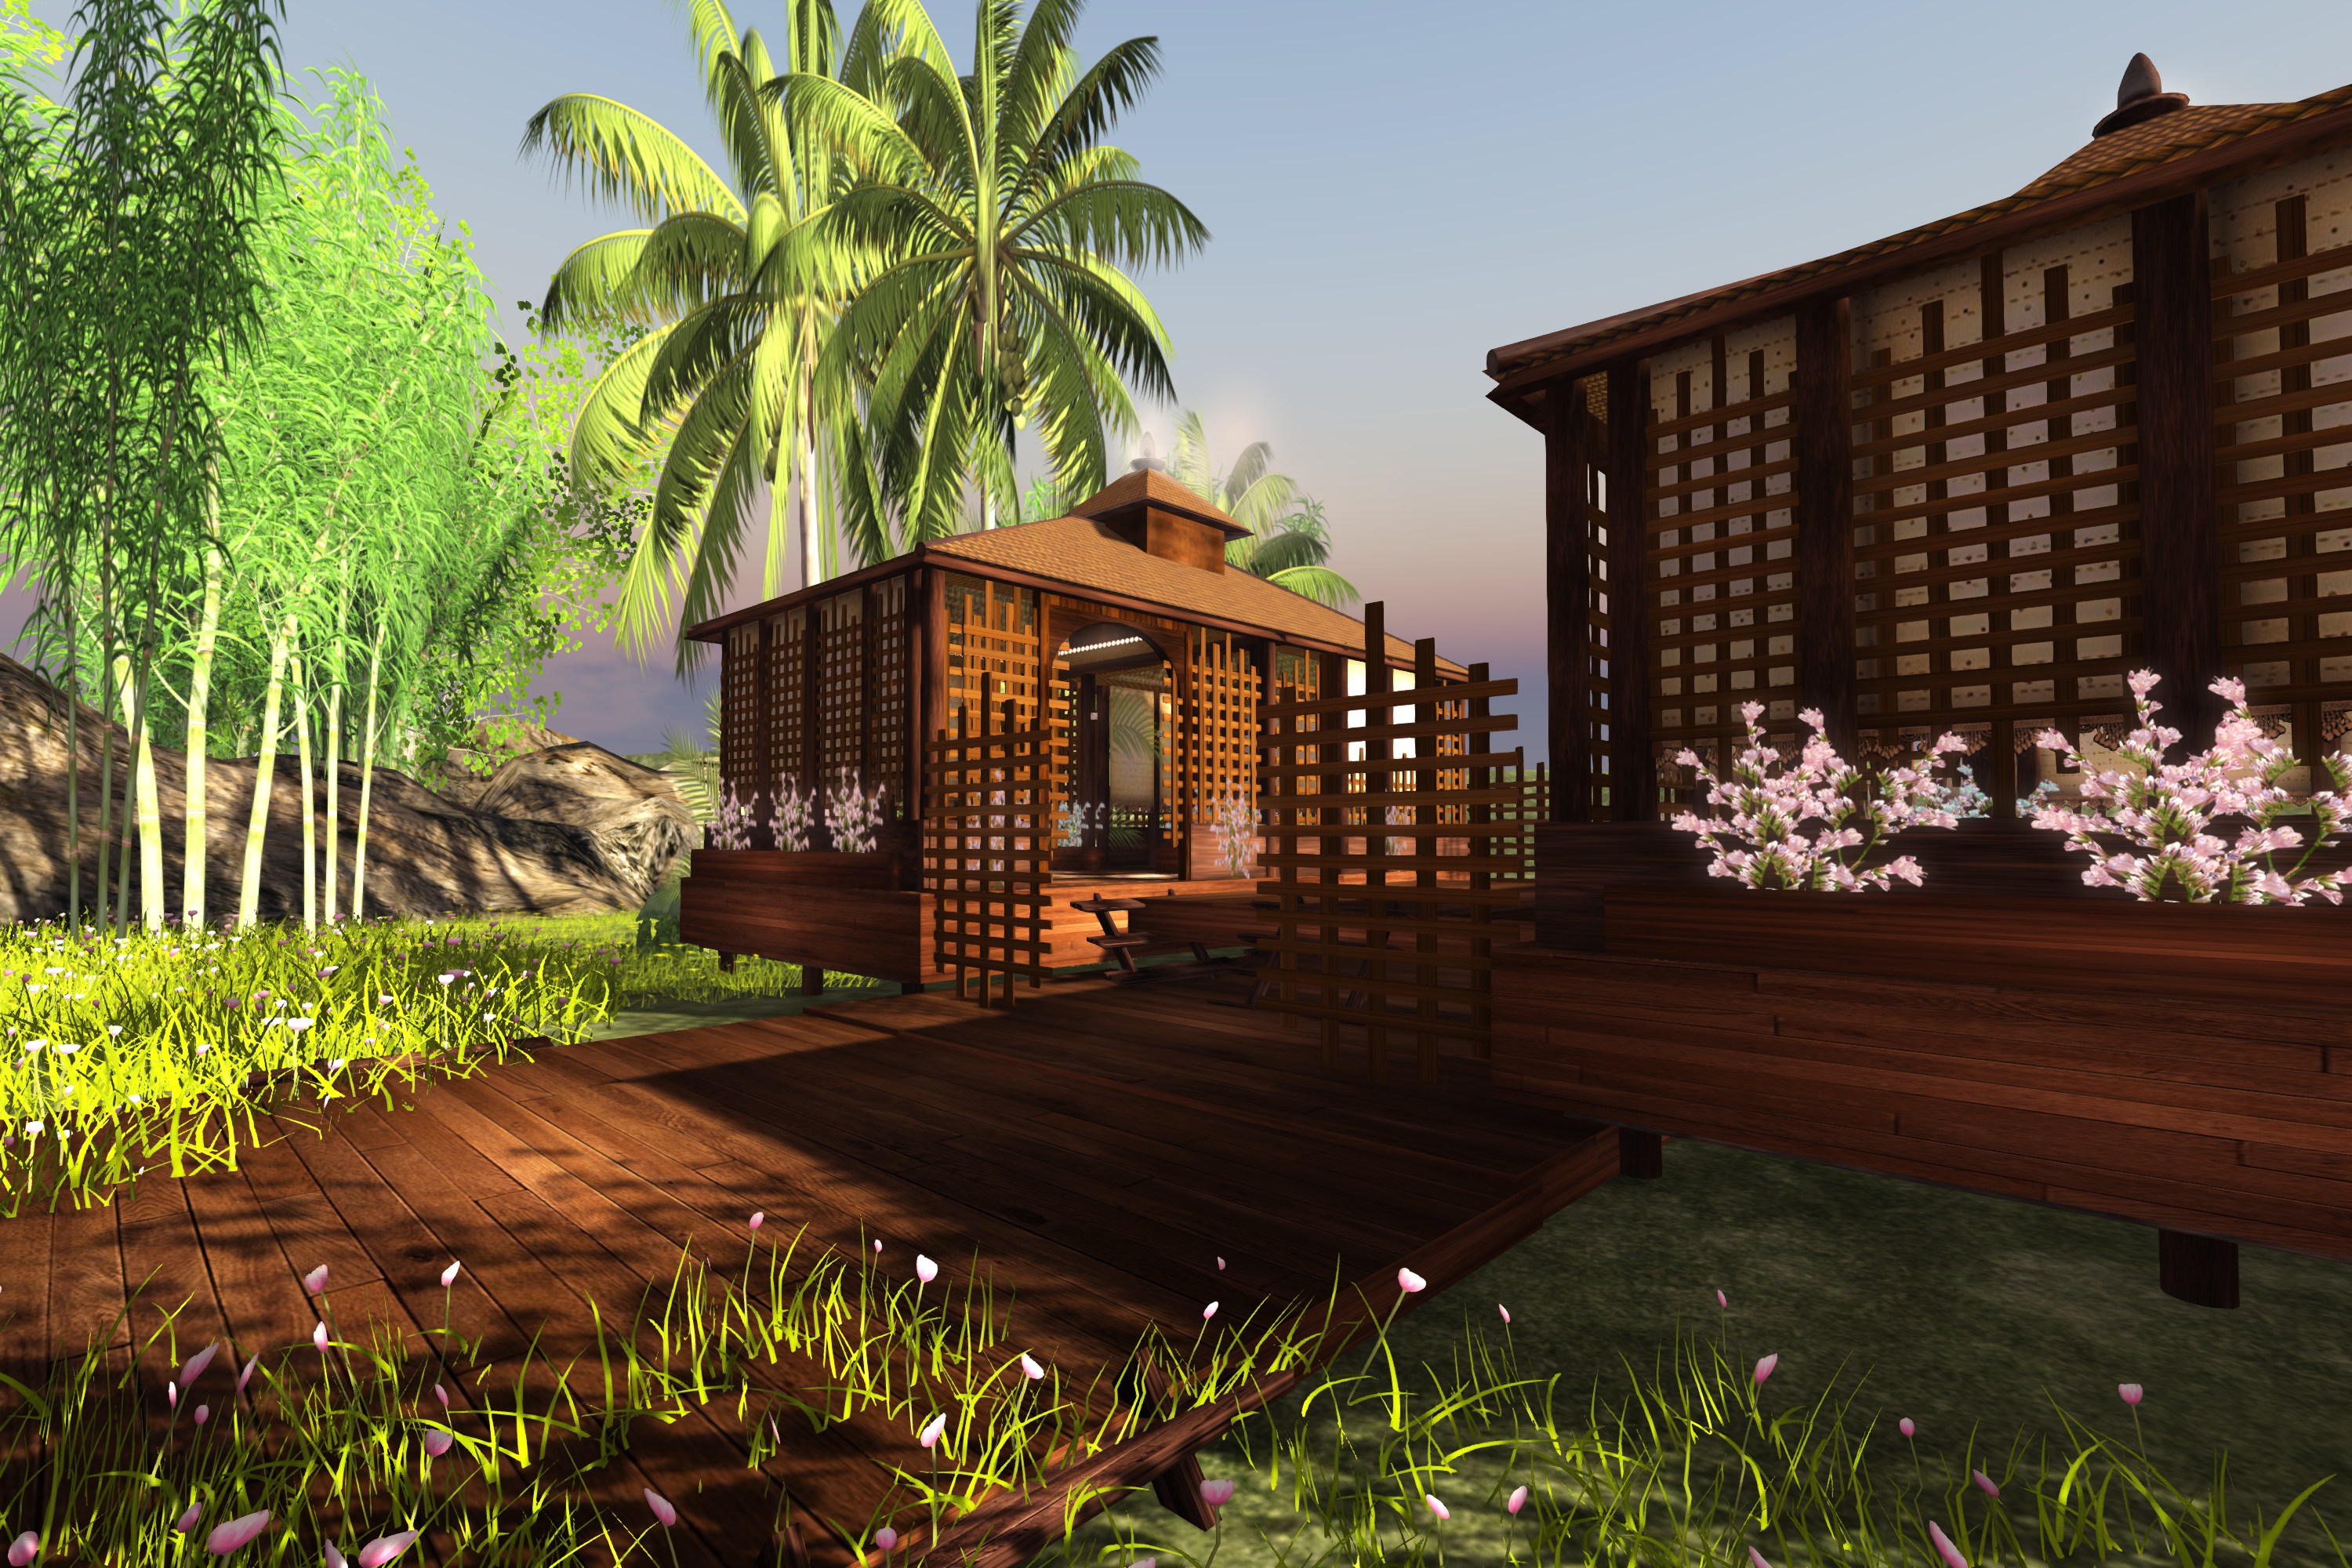
Setting up your house is easy as it comes as a single build. For ideas and pictures on how to set up a double or treble version of your lodge see the photos in this post.
See the ‘User Manual’ later on for full instructions on how to use.
- Copy/Mod
- Land Impact = 79
- Optimised Prim & Sculpt based build
This Beach House is COPY/MODIFY and includes:
Built in on/off Flickering Candles
Texture Change panel with texture change access control
Texture Change Floor x 5 textures
Texture Change Flowers
Texture Change, Open/Close Blinds
Smoking Chimney
Lockable doors with access control
FREE Ocean Access Platform (copy/mod)
FREE Firefly Lights
WHERE TO BUY
USER MANUAL
1) Modifications
Please only modify if you are confident in your building skills as I can only offer limited support if things go wrong. You should always make sure that you have an original copy in your inventory just in case!
Please note that this is a standard prim built lodge which has been optimised using the new Land Impact physics to make the LI as low as possible. If you do make modifications be aware that the overall LI could change i.e. it could be more. This is not a fault of the build but is simply how LI works in SL. You can read more about this on the SL wiki or under FAQs on my blog http://www.mocoscribe.com
Always take a copy of your build!
2) Texture Change, Floor, Blinds, Candles
The texture change panel is located in the change panel (see the picture below)
To change the texture for the floor or flowers or to open/close the blinds touch the centre of the panel. This will bring up a menu and you just simply make make your choice from there.
You can also set who has access to the texture changer, again just follow the instructions when your bring up the menu. You will need to add their name to the notecard in the Texture Change Panel simply go to edit >> select the central object of the panel (with the bamboo pattern) and you will see the notecard.
You can select 3 access levels of user, who may interact with the texture change script::
Level 0 – Everyone :means anyone who touches the control panel will be able to set the texture control menu
Level 1 – Authorized users :list of users must be specified. The list is saved in a notecard “:mptUsers” (without the quotes) in the control panel. This notecard is located central prim of the access panel. To access this prim – select build – choose edit linked – click on the light prim – go to contents. You will see the notecard there. To add specified names follow the details below.
Add the name of each avatar who you’d like to allow access to the texture change menu. Each name MUST be written in a new line.
Spell each name exactly as it is in SL including capitals – Beware of misspellings 😉 The owner of the object doesn’t need to be in the list if Access Level is set to 1 in order to have access to the menu. You an access this notecard by selecting the contents of the control panel.
Level 2 – Owner only :only the owner of the object will have access to the menu.

3) Lighting
All lights come with 3 settings which are Hi/Lo/Off. They use the Paskis light system which works very well and creates a lovely natural light.
Each candle built into the hut can be individually turned on and off. Make sure you have the right SL settings activated to get the full effect.
4) Doors
There are 4 doors in this house. 2 at the front and 2 at the back. They can be set to either:
Everyone to use
Owner only to use
Group only to use
To set the permissions and operation of each sliding doors just go to each one, touch, hold and slide down the door to bring up the menu. Follow the instructions on the menu to set your permissions etc.
IMPORTANT
** If there are any problems with the sliding doors, put them back into the closed position select each door via the the edit menu and reset the scripts. Go to build – select scripts – select re-set scripts.
** Also make sure that all sliding doors are in the closed position before rotating, moving or taking back into your inventory.
In the rare occasion of any glitches with the doors put them back in the closed position or use edit and move them back and then reset the scripts.

ASIAN BEACH HOUSE & INDOOR FURNITURE SET
1) CUDDLES
There are 7 great cuddle animations in this furniture which are accessible via a menu.
SIT ANIMATIONS
– All sits are quality multiple sit animations (male, female and unisex)
– Access the sits by touching the seat cushions and follow the menu
– All sits can be adjusted to suit and the script will remember your favourite position
– The sits are powered by a separate menu which means that you can set the sit permissions to group or anyone independently of the cuddle engine
– Once the scripts remember each avatar and their sit preferences the sit action is smooth and seamless
THE CUDDLE ENGINE
– Is powered by the latest version of XMLP and uses quality animations – This engine gives you many advantages via the menu including:
. Smooth animation action
. Adjustable poses
. Easy selection of poses
. Swap
. Ability to set permissions for group, owner or anyone to use
. Tried and tested SL technology
– To activate just touch the top of the bed-base
– This cuddle furniture has over 7 active animations. Each are between 30 – 60 seconds long of looped quality animation
OPERATION:
– Click the MLP object to switch it on (this is the square silk cushion at the back) – When everything has loaded click again for the menu
– Select a submenu containing poses, and select a pose. Poseballs will appear. – Sit on your poseball (Right-click -The Pose Name)
– Accept the popup asking permission to animate your avatar. (Might be behind the MLP menu, click “>>>” to see.)
– To disable expressions, use Page Down key. To re-enable them, use Page Up. This only affects you and not people on other poseballs. Expressions are re-enabled by default when anyone else sits on the poseball.
– To remove the balls, select ‘STOP’.
TO ADJUST POSITIONS:
You can adjust the poses to fit your own avatar and those you share MLP with.
– Select a pose you want to adjust and sit on the balls.
– Go back to the main menu, select “Options – Adjust Pos”. This changes the balls into transparant beams.
– Right-click a beam, select Edit and adjust the position (Shift-click to select more than one). – Position the balls anywhere within 10m from the MLP object.
– “Save Pos” stores the position into memory.
Saved positions are stored in memory but are not permanent. They are lost on script error (See “Script run-time error / Stack-Heap Collision” below). They are also lost on shutdown/startup, or “Pos Reset”.
TO ADJUST HEIGHT OFFSET (Z):
Select “Height Adj” and click the “Z”-buttons, this will adjust the height for all poses.
Note: the offset height is stored in the Object Description, so any descriptions will be replaced
ACCESS TO THE MAIN MENU:
The owner is the only one who can start/restart/shutdown, in all cases.
– if “Options – MenuUser” is set to OWNER: the owner is the only one who can access the menus
– if “Options – MenuUser” is set to ALL: anyone can access the MAIN MENU
– if “Options – MenuUser” is set to GROUP: members of the same Group as the MLP object can access the MAIN MENU (the MLP Group can set by right-clicking MLP and selecting Edit, More >> General tab – Group: Set)
Note: even if “MenuUser” is set to ALL or GROUP, individual SUBMENUS can still be blocked (you can define access for each submenu in .MENUITEMS, see examples in .MENUITEMS).
POSEBALL ACCESS:
– if “Options – BallUsers” is set to ALL: anyone can sit on the ball
– if “Options – BallUsers” is set to GROUP: only groupmembers can sit on a poseball. The balls will check if the person who tries to sit on the ball belongs to the same Group as the ~ball object (to set the Group of the ball, take a new copy of the MLP with your preferred Group set active on you. You could also take the ~ball out of the MLP, into the world, right-click, Edit, More >> General tab – Group: Set, thereafter take the edited ~ball into your Inventory (note: do this within a minute or so, because balls commit suicide after a while when taken into the world), delete the old ~ball in the MLP, and drag the new ~ball from your Inventory to the MLP).
TROUBLE SHOOTING
SL is a brilliant place but not without its foibles and the vagaries of the Grid.
– If the animations don’t start as expected or the pose balls rez where they shouldn’t etc, simply shutdown the sex engine and open back up
– If the poses are out of kilter when you start the pose, normally swapping the pose and then swapping back normally does the trick
– Can’t find the pose balls? Don’t forget that the poseballs won’t always rez on the furniture itself some poses maybe off the sitting area completely, so keep looking
– Sometimes when people change the position of a pose the ball will rez within the couch itself. Simply use your camera to locate
– Lastly re-setting the scripts in your furniture can also solve any lingering niggles
FAQs
– Why do I hover, sitting, after sitting on a poseball?
Be sure to answer “Yes” to the popup that asks permission to animate your avatar. This is often buried under the MLP main menu, so click the “>>>” to cycle through menus. This is SL behaviour and there’s no way to fix it, other than turning “remenu” off.
Wishing you hours of fun!
Love from Moco XXX


